
Add a Security User
You can create User accounts in your project to restrict access to it in Designer and Runtime. If you need different Users to have different privileges, you will want to enable Security.
To create a new User, follow the steps below.
-
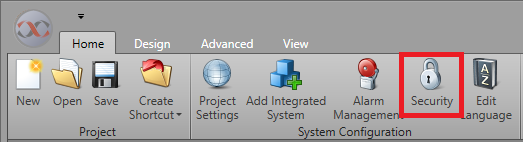
Go to the Home tab and click
Security. If Security is not
enabled, you will be prompted to confirm enabling it. Click
Confirm. The project will be reopened (this make take
longer for large projects).
-
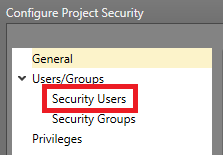
In Security Manager go to .
Once your User is created, add it to a Group to configure its permissions.
Add a User to a Group
You can add a User account to a Group to assign it privileges in Runtime and Designer.
Note: If assigned Groups have conflicting permissions, the
Deny permission will be used.
-
Here, you can assign and remove the user from Groups.
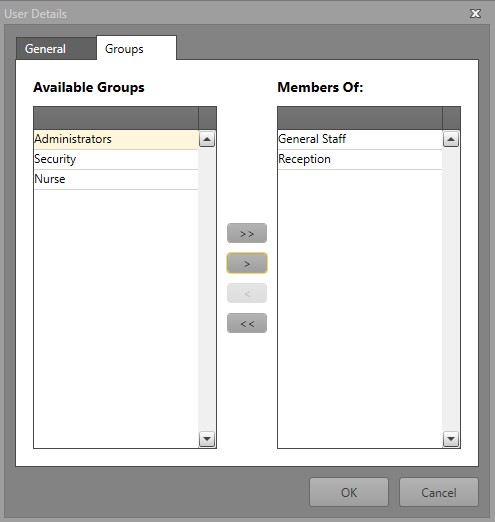
Note: Users which do not have a password cannot be added to the administrator group.