Timer Block
The Timer block is used to delay the continuation of a Workflow by a user-defined number of seconds.
To use a Timer block in your Workflow, follow the steps below.
-
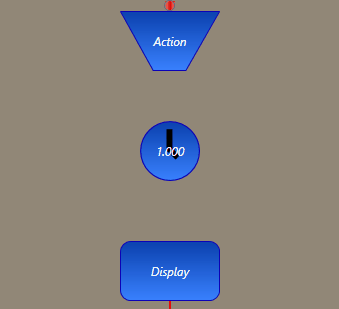
Connect the Timer to the previous and next blocks.
-
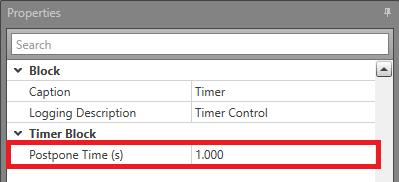
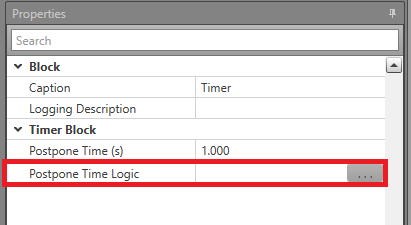
In the Properties grid, set the Postpone Time
(s) field to the number of seconds to delay the
Workflow.
When this block is reached in the Workflow, the Timer will wait the set number of seconds before continuing to the next block.
-
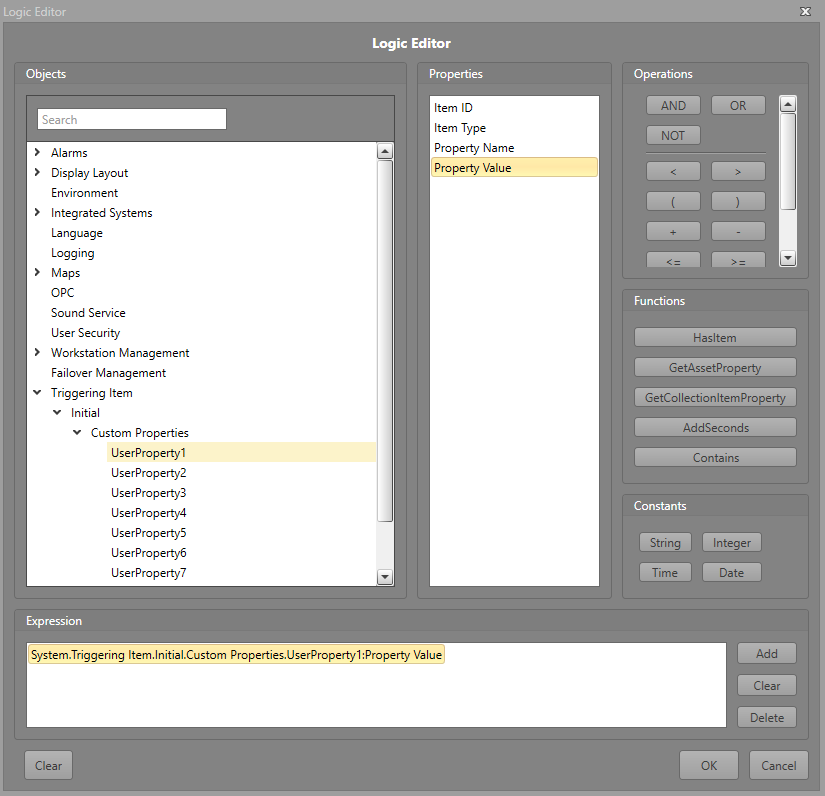
Alternatively, the Postpone Time Logic field can be used
to assign a time delay value using the Logic Editor.
 Note: Only one time delay value is permitted, either a value in the Postpone Time or Postpone Time Logic field.
 -
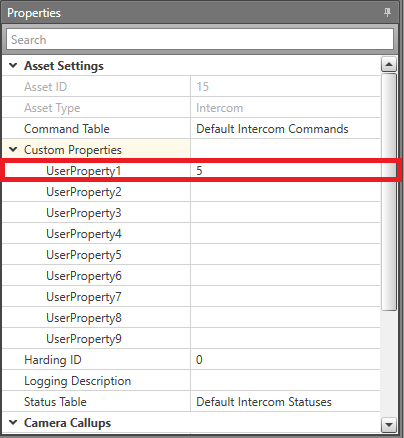
In the Logic Editor, it is possible to configure the
logic for the time delay. For example, set the time delay value using one of the
asset's User Property value and then select it in the
Logic Editor.