Create Volume Controls
The volume of the default sound device of the Workstation can be controlled using Workflows. The below examples show how to create these controls, as well as automatically adjust the volume when an event occurs.
Display Current Volume
When choosing to change the volume, it can be helpful for Runtime users to know the current volume. To display the current volume in Runtime:
-
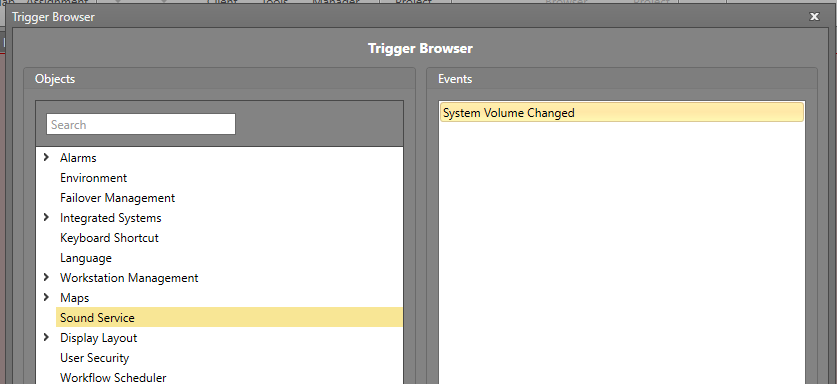
Configure the Workflow to trigger when the volume changes.
-
In the Events pane, select System Volume Changed.
-
In the Events pane, select System Volume Changed.
-
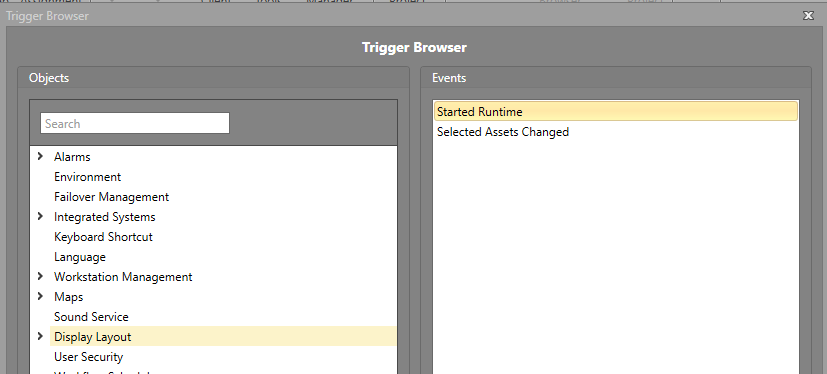
Add another Workflow trigger for when Runtime starts up.
-
In the Events pane, select Started Runtime.
-
In the Events pane, select Started Runtime.
-
Add an Action block to the Workflow, and connect it to the
Start and Stop blocks.
-
Configure the Action block.
- Double-click the Action block.
- In the Objects pane, navigate to the Display Layout/Map the label was added to.
- Select the text label.
- In the Commands pane, select Set Text.
- In the Expression pane, click Text.
- In the Objects pane, expand Triggering Item and select Initial.
- In the Properties pane, double-click Current System Volume.
- Click OK, then OK again.

Create Volume Up/Down Buttons
Buttons to turn the volume up/down can be created to allow for management of the default sound device's volume. To create these buttons:
- Drag and drop two Buttons from the Toolbox onto the Map/Display Layout you want them displayed on.
- Change the Caption on each button to indicate which button will be turning the volume up/down.
-
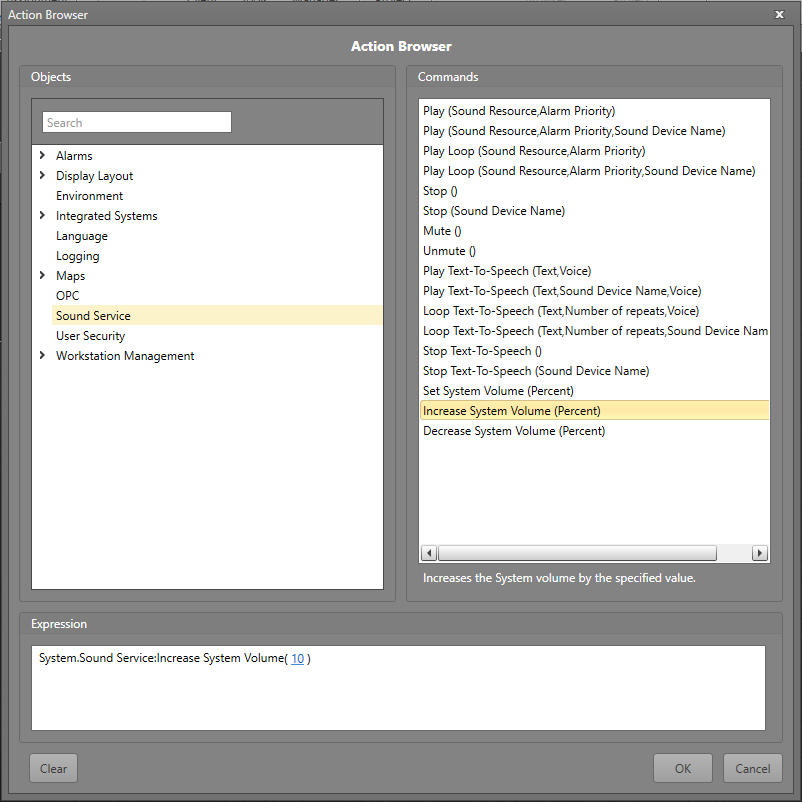
Double-click the button which is meant to turn the volume up to configure it.
-
In the Expression pane, click Percent to configure how
much the volume will be changed. In this example, we will set this to 10.
Note: This can only change the volume within the configured Sound Project Setting thresholds.
-
In the Expression pane, click Percent to configure how
much the volume will be changed. In this example, we will set this to 10.
-
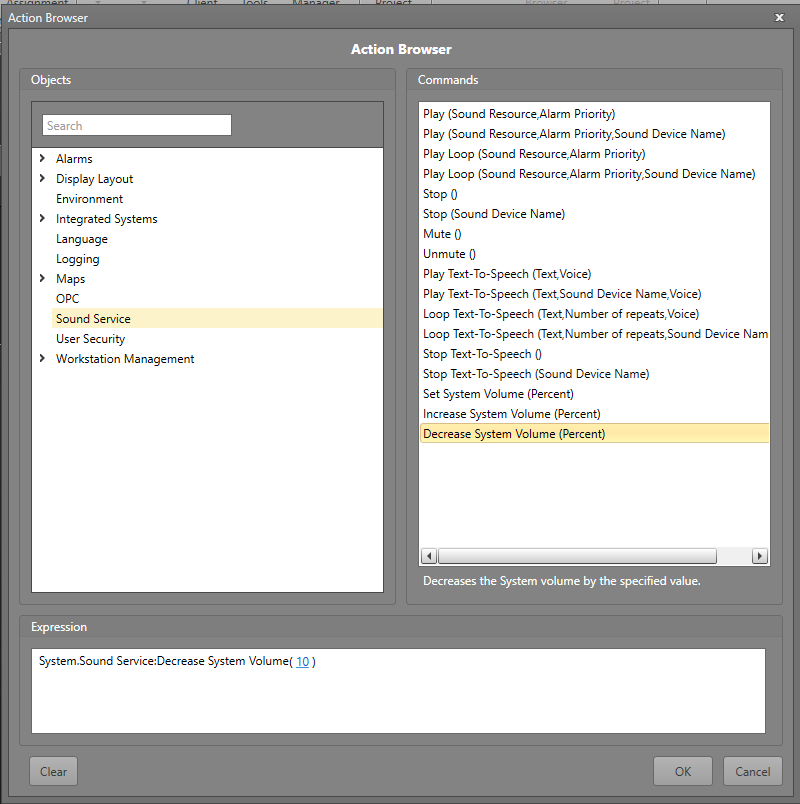
Double-click the button which is meant to turn the volume down to configure it.
-
In the Expression pane, click Percent to configure how
much the volume will be changed. In this example, we will set this to 10.
Note: This can only change the volume within the configured Sound Project Setting thresholds.
-
In the Expression pane, click Percent to configure how
much the volume will be changed. In this example, we will set this to 10.
Set the Workstation Volume to a Specific Value
You may need to have the system volume set to a specific value. For example, when an asset alarm becomes active, you may want to set the volume to a value high enough to ensure the Runtime operator can hear it. To configure a Workflow for this:
-
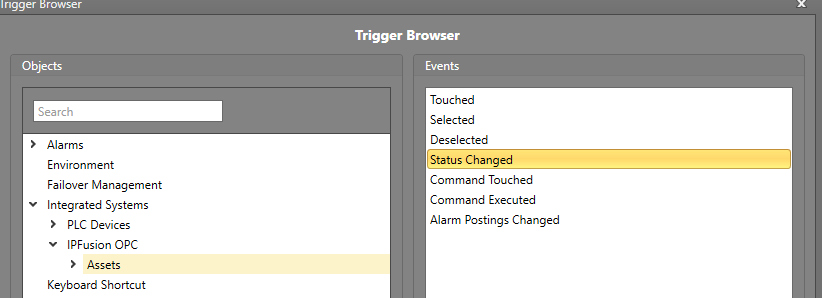
Configure the Workflow to trigger when an asset is in alarm.
-
In the Events pane, select Status Changed.
-
In the Events pane, select Status Changed.
-
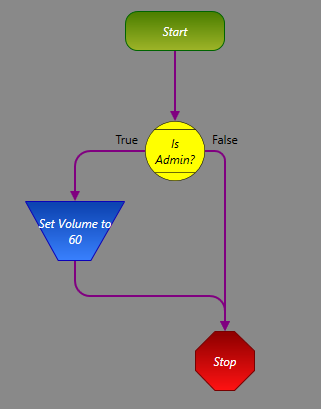
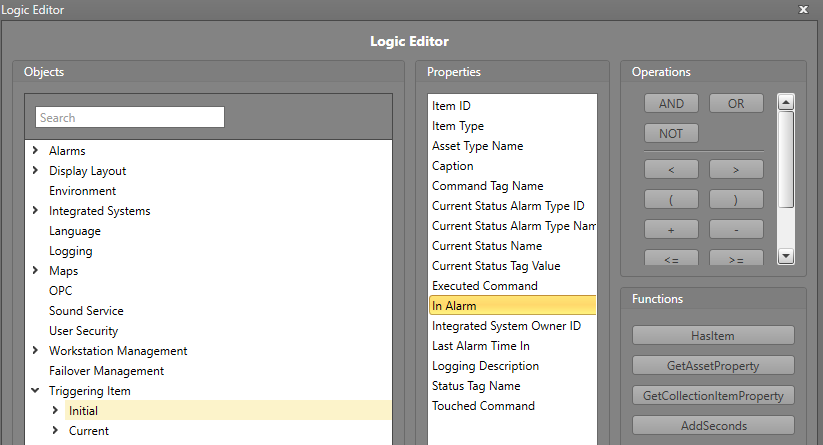
Add a Logic block to the Workflow and connect it to the Start block.
Double-click the Logic block to configure it.
-
In the Properties pane, double-click In Alarm.

-
In the Properties pane, double-click In Alarm.
-
Double-click the Action block to configure it.
-
Enter the volume you wish to have the system set to. In this example, we will enter 60.
Note: This can only change the volume within the configured Sound Project Setting thresholds.
-
Enter the volume you wish to have the system set to. In this example, we will enter 60.
-
Connect the exit path for the Action block to the Stop block.