Jump to Priority
The Jump to Priority button is a flexible Display Layout Item that displays the color of the highest priority alarm and also jumps directly to that alarm.
To add Jump to Priority to a Display Layout, follow the steps below.
-
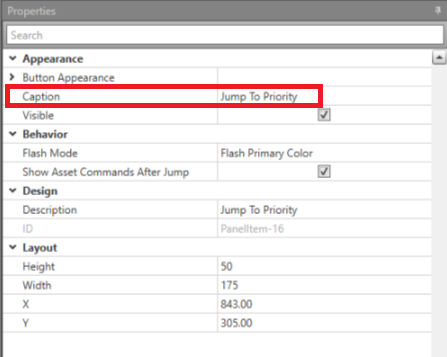
To change the text on the Jump to Priority, change the
text in the Caption Property.
Once Jump to Priority has been added, you can use it as a Workflow trigger.
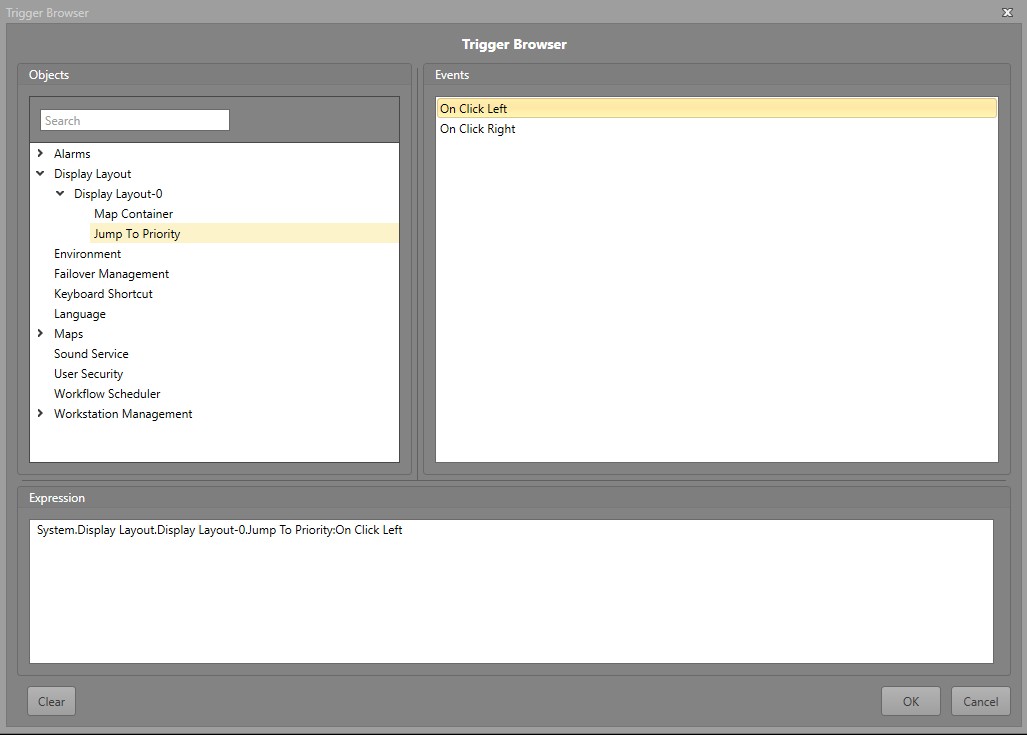
Use Jump to Priority to Trigger a Workflow
You can use Jump to Priority being clicked as a trigger for a Workflow. This is useful when you do not require a singular Command to be run.
To use Jump to Priority to trigger a Workflow, follow the steps below.
-
In the Trigger Browser, navigate to . Expand the Layout containing the
Jump to Priority, then select it.