
Alarm Grid
The Alarm Grid displays a list containing information about active alarms. This is used to provide a central place where a Runtime operator can view these alarms. This is useful if you have a large number of Maps or assets, as you can view the alarms without having to go to each individual Map.
To use an Alarm Grid in your Display Layout, follow the steps below.
-
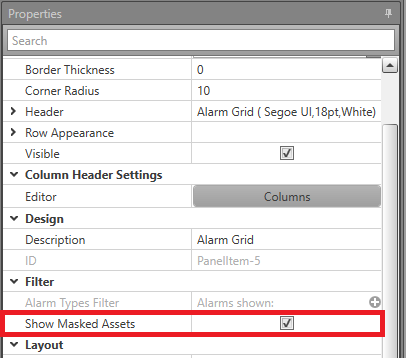
If you want assets which have been masked to appear in the alarm grid,
check Show Masked Assets.
-
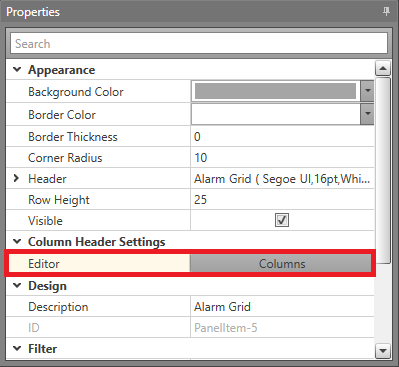
In the Properties select to open the Columns Header Editor.
-
Drag and drop the below columns to add, remove or
reposition them.
Age How long it has been since the alarm first came in. This value updates once every second. If the asset is in a masked status, no age value is displayed. If the asset is masked then reset, the age value will start from when the asset was reset. The format for the time can be configured within this columns Properties. The available formats are: - s — Displays time in seconds. E.g., if 1 minute and 30 seconds passed since the alarm came in, it would display as 90.
- m:ss — Displays time in minutes and seconds. E.g., if 1 hour, 3 minutes and 30 seconds passed since the alarm came in, it would display as 63:30.
- h:mm:ss — Displays the time in hours, minutes, and seconds. E.g., if 2 hours, 1 minute, and 30 seconds passed since the alarm came in, it would display as 2:01:30.
Alarm ID The unique identifier for the alarm. Alarm Type The type of alarm, e.g., fault. System The integrated system the alarming asset belongs to. Time The timestamp for when the alarm was triggered. Map The Map where the alarming asset is located. State Whether the alarm is Acknowledged or Unacknowledged. Location The Logging Description for the alarming asset. If it does not have a Logging Description, the Caption is used. It is recommended to use either the Caption or Logging Description instead as this functionality has reached its end of life. Priority The number assigned for the alarm's Priority. Caption The alarming asset's Caption. Logging Description The alarming asset's Logging Description. 
In Runtime the alarms are displayed in this grid. The default order is the oldest and highest priority alarm first. To remove an alarm, you must Acknowledge and Reset it. If you do not Reset the alarm after acknowledging, it will remain in the list with an Acknowledged state.
The Alarm Grid will automatically scroll to your currently selected asset if it moves in the list. This can occur after actions such as acknowledging or masking the asset. If you select an asset from the Alarm Grid, you will be automatically navigated to the Map containing that asset (if the Map is available for navigation). If your asset has icons on multiple Maps, including the one which you are currently navigated to, you will not be navigated away from the current Map.
- Space will select the last selected alarm
- Up/Down Page Up/Page Down Home/End will jump to the current selection
- Alarm status
- Unacknowledged alarms first
- Acknowledged alarms second
- Masked assets last
- Priority
- Timestamp