
Add an Image
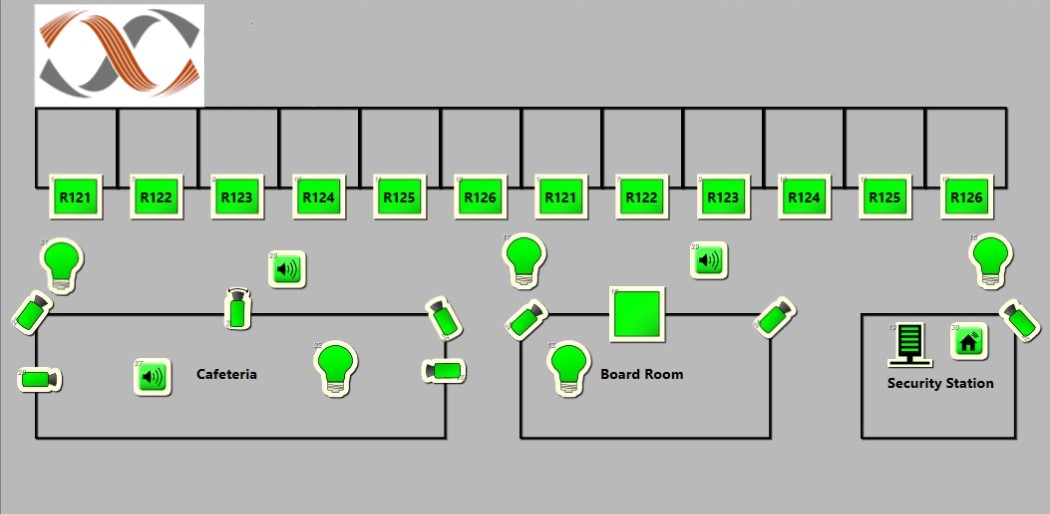
Images can be added to a Map or Display Layout. This can be used to represent a real-world element, display a corporate logo, or to be used as a design element.
Add the Image Resource
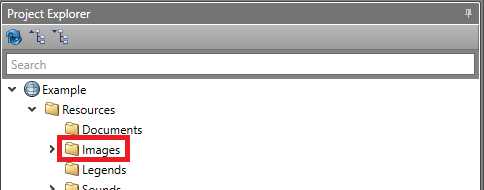
Before you can add an image to a Map or Display layout, it must first be added to your project Resources.
-
In Project Explorer, go to .
Add the Image to a Map or Display Layout
-
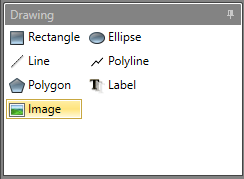
In the Drawing pane, click the image icon and move the cursor to a location on the
map. Click again to place it.
-
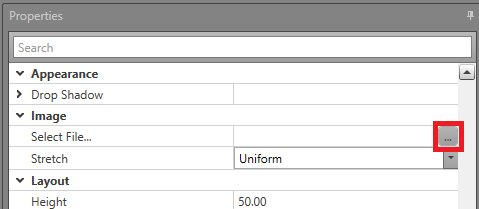
In click the ellipsis (…) button.
-
In the Resource Picker panel click the
Image to add. If it is not listed, click
Import. From the local drive, highlight the image
file and click open. The image will load into Resource
Picker. Click OK.
Resize the image by dragging the corners of the frame. For precise sizing go . Input the height and width dimensions as required.
You may update the image Stretch property in . This
affects how the image fills the frame.
| Stretch Option | Description | Example |
|---|---|---|
| None | The image does not stretch to fit the frame. It remains its original size. | 
|
| Fill | Image stretches to fill out to the corners of the frame. | 
|
| Uniform | The image resizes so that it has the same aspect ratio, and stretches until it fills to either the horizontal or vertical frame. | 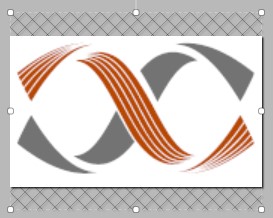
|
| Uniform to Fill | The image resizes, maintaining its original aspect ratio, stretching until it fills to the horizontal and vertical frame. | 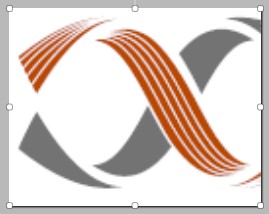
|