Configure Advanced Navigation
If the Navigation Item becomes cluttered with too many Maps, or if the project includes multiple buildings that require their own navigation sets, Advanced Navigation should be used. This feature allows you to create multiple different groups of Maps that can be displayed in the Navigation Item, rather than have every Map shown at once. Advanced Navigation should be used when navigation from a given Map in the project to another Map needs to be restricted, whether for security reasons or general ease of use. Too many Maps in the Navigation Item can quickly become overwhelming for the operator, so limiting the number of Maps at specific Workstations can help with this problem.
The Navigation Item allows multiple Maps to be accessible without needing to display a separate Map Container for each.
To setup a Navigation Item using the Advanced Mode, complete the below steps.
-
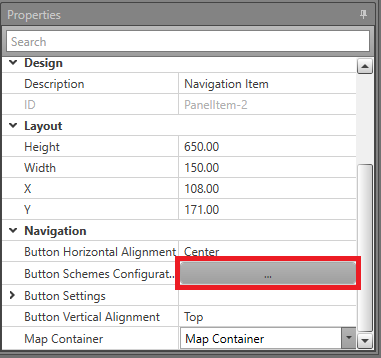
In Properties, under Navigation,
click the ellipsis (...) beside Button Schemes
Configuration.
-
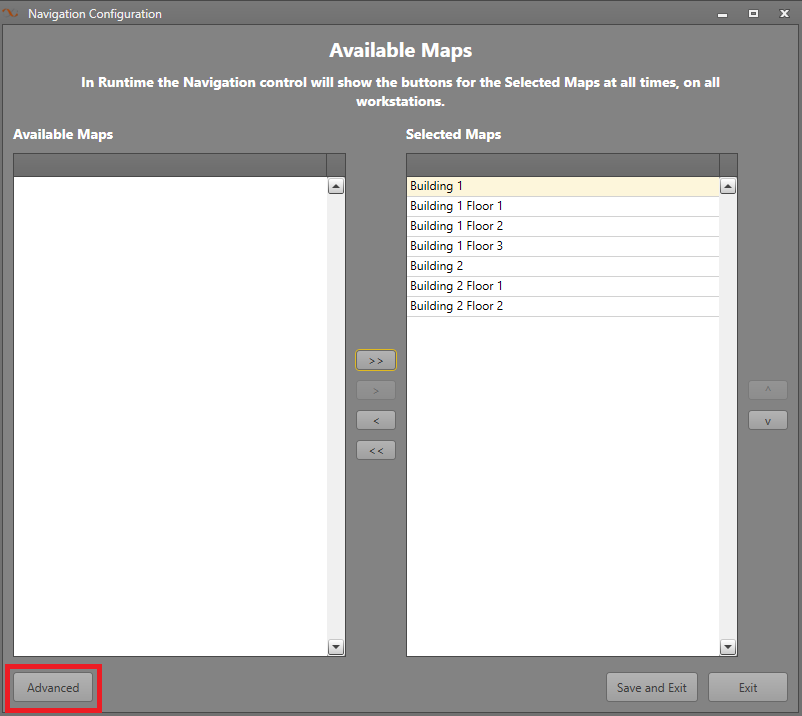
Click Advanced.
-
Click Next. Set the Profile Name for the
navigation layout, and any additional Notes. Click Finish.
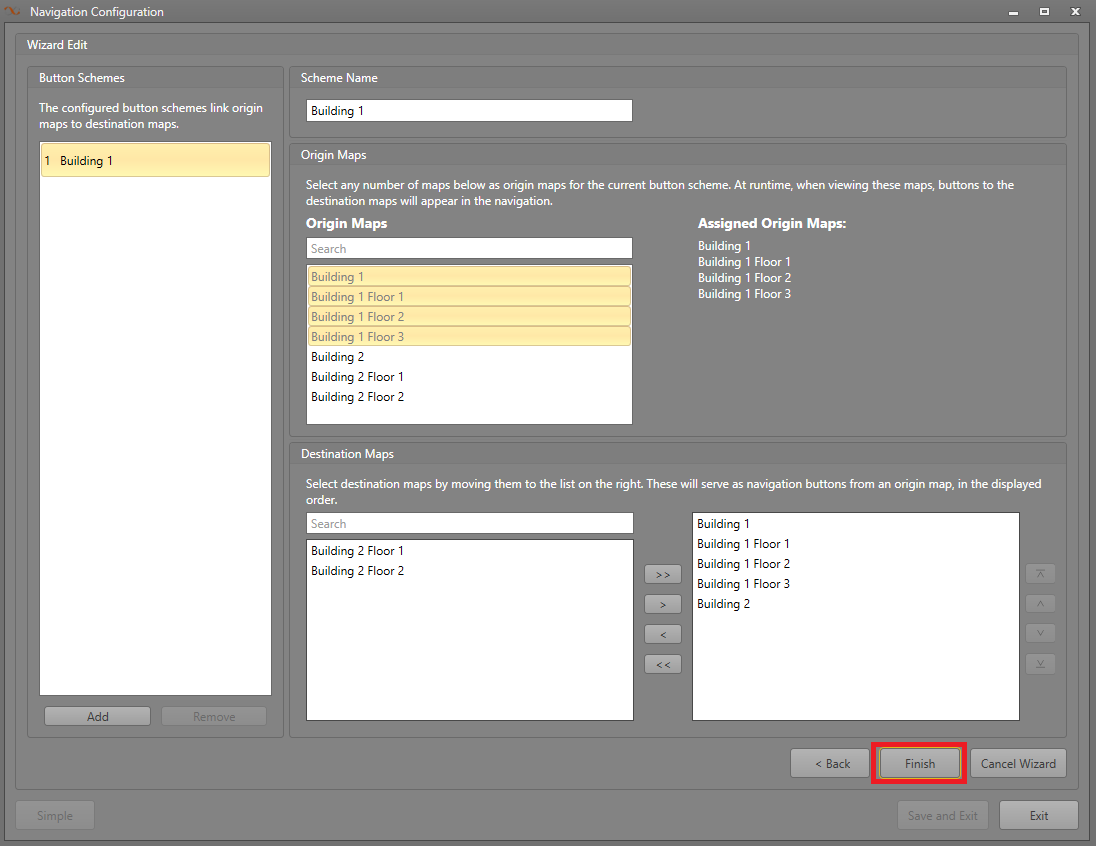 Note: A Map can only appear as an Origin Map once across all schemes. Once selected in a scheme it is greyed out and cannot be selected in another scheme.
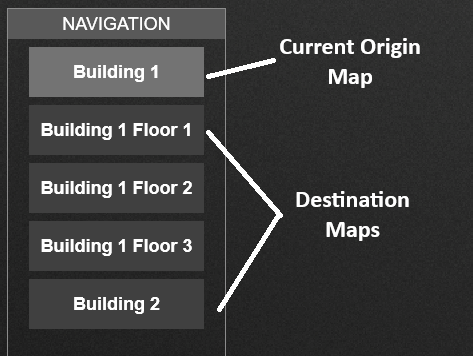
-
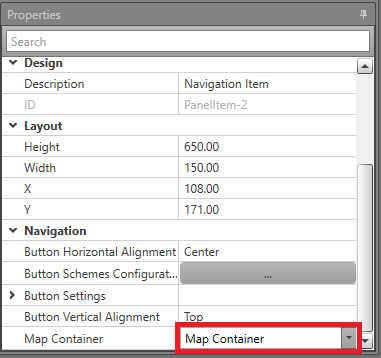
If there is more than one Map Container on the Display Layout,
go to and select the Map Container to link to this Navigation Item.