
Add and Import Groups
You can define new groups within Security Manager or import existing groups from Access and Identity Management or Active Directory into Designer.
Add an Access and Identity Management Group
Groups and their associated permissions can be defined in the Security Manager; however, these definitions only take effect if the group name matches an existing group in your Security Provider. While user assignments must be managed through the Access and Identity Management Dashboard, it can still be beneficial to predefine group names and permissions, as these settings will automatically apply once matching groups are imported from your provider.
To create a Group, follow the steps below.
-
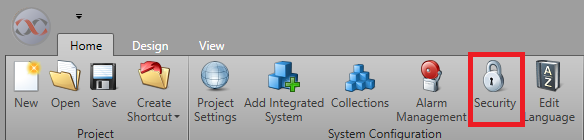
Go to the Home tab and click
Security. If Security is
not enabled, you will be prompted to enable it. Click
Confirm to reopen the project with
Security enabled. The Security
Manager will open.
-
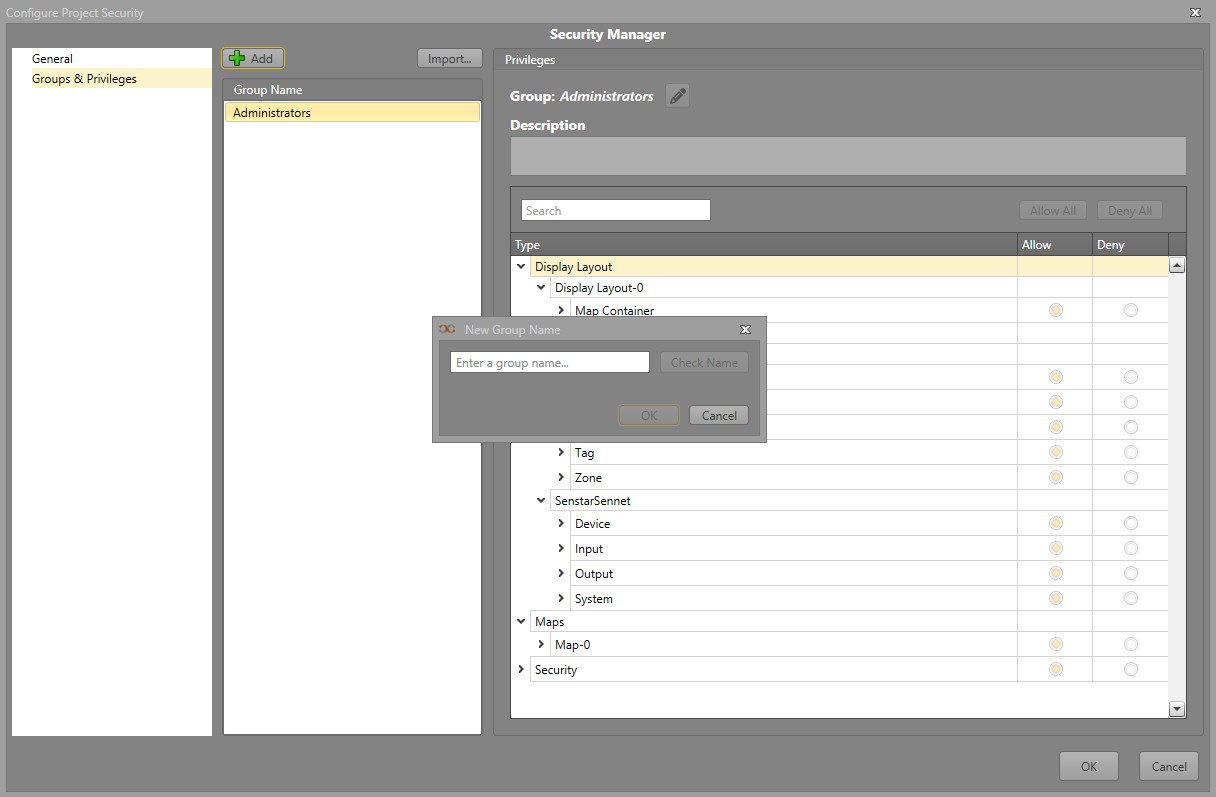
Click the Check Name button to verify whether a
group with the same name already exists in the Access and Identity
Management Dashboard.
Import Access and Identity Management Groups
It is also possible to import groups created in the Access and Identity Management Dashboard.
- In Groups & Privileges, click on the Import button.
- Any groups that have not been added to the project will now be imported.
Add a Active Directory Group
Groups can be defined in Security Manager; however, user assignment must be done through the Access and Identity Management Dashboard.
To create a Group, follow the steps below.
-
Go to the Home tab and click
Security. If Security is
not enabled, you will be prompted to enable it. Click
Confirm to reopen the project with
Security enabled. The Security
Manager will open.
Import Active Directory Groups
Users from Windows Active Directory can be used to log in to Designer and Runtime. First, they must be imported.
Before you can import an Active Directory user or group, go to and ensure the Security Provider is set to Active Directory.
To import an Active Directory user or group:
- In Security Manager, go to .
- Click Add.
- Type in the Group Name you wish to add.
- Click Import.
- Select the Object Type to be imported. The default is Groups.
- Click Locations... to select where the group is located in Active Directory.
- If you know the name of the user or group, enter it and click Check Names to verify.
-
To search for a user or group, click Advanced.
- Enter the Name of the user or group and select whether the entered text Starts with or Is exactly the entered text. Leave blank if you are not searching by name.
- Enter the Description of the user or group and whether the entered text Starts with or Is exactly the entered text. Leave blank if you are not searching by description.
- Check Disabled accounts to include them in the search results.
- Check Non expiring password to include those accounts in the search results.
- Enter in the maximum number of Days since last logon to limit the search to more recently logged in users.
- Click Find Now and select the your users and groups from the search results to be added. Click OK.
- Click OK.
When the user logs into Runtime, they can either enter their Active Directory login information with the username in the format DOMAIN\username. To log in as the currently logged in Windows user, check Use Windows User.