
Add New Legend
A Legend serves as a visual reference for interpreting icons and colors that indicate system statuses.
To create a Legend, follow the steps below.
-
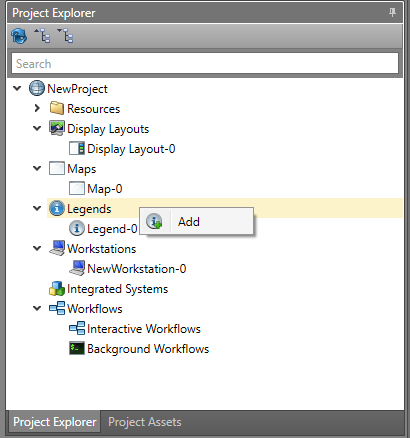
In Project Explorer right-click
Legend and select Add.
-
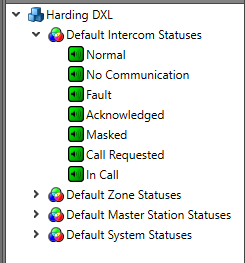
The Toolbox lists the available statuses for each
Integrated System that can be placed on the canvas. Each status icon can display
a different status from the Status Table.
-
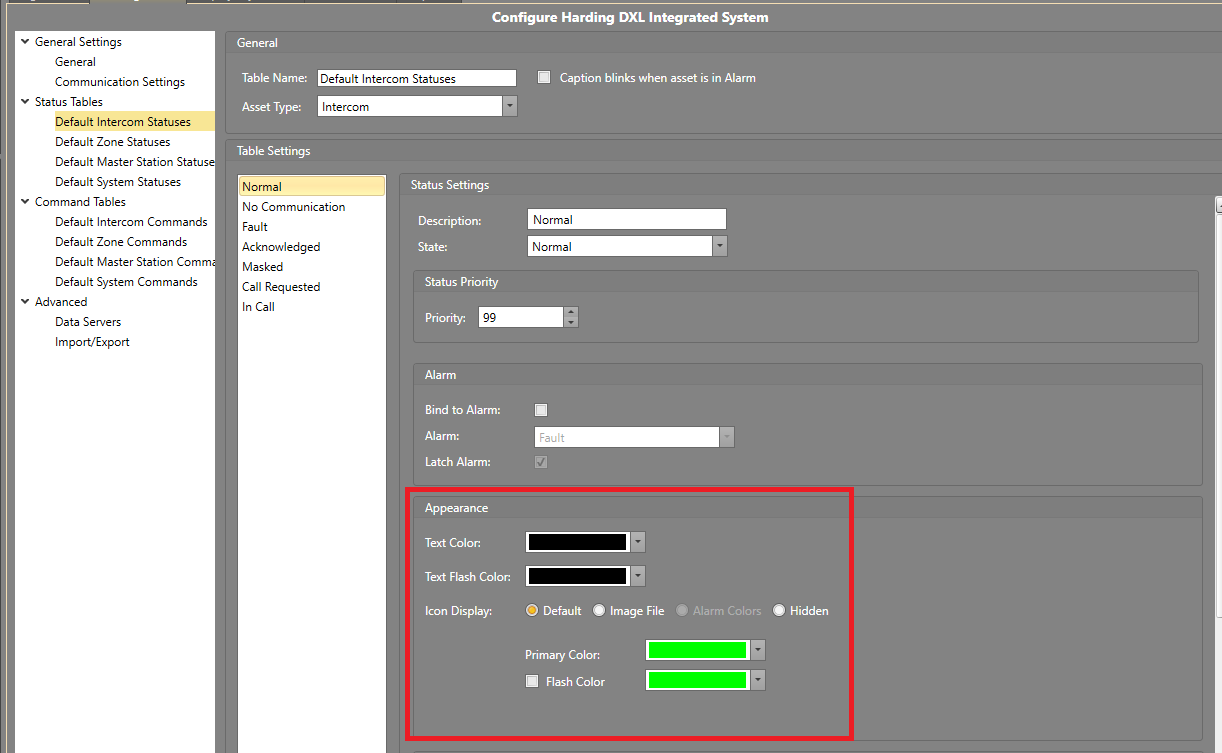
Once the icon statuses are dragged onto the canvas, they display color and
flashing behavior depending on how the status is configured in that specific
Integrated System's settings. To customize these settings, go to the specific
Integrated System's setting page and adjust the color and flash options under
the Appearance section.
-
Add Captions or Labels to
identify each status.
 Note: The About and Close buttons appear by default, always appear above all other objects, and cannot be deleted.