
Change Status
While using the Simulation Client, you can change the Status of assets. This allows you to see how it will behave while that Status is active in Runtime.
On the Assets and Workflows tab, change the Status of a selected asset by taking the following steps:
-
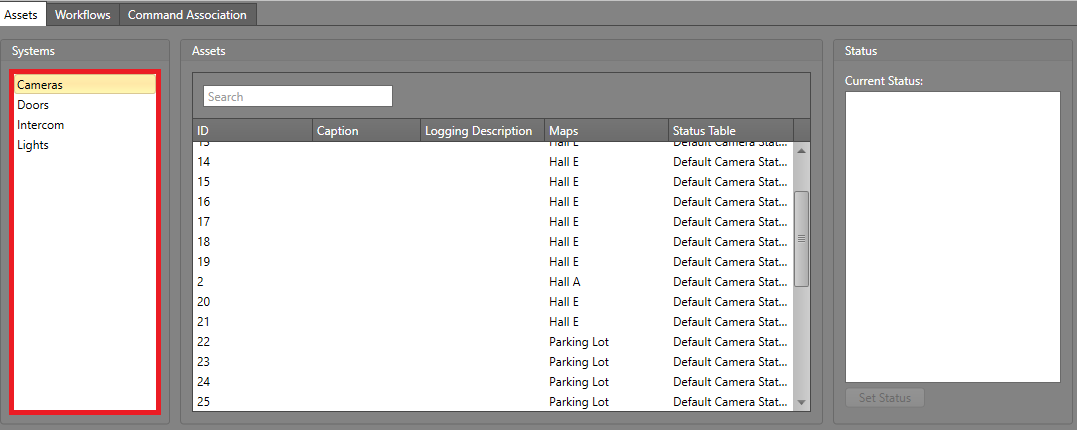
In the Systems pane, select an integrated system.
-
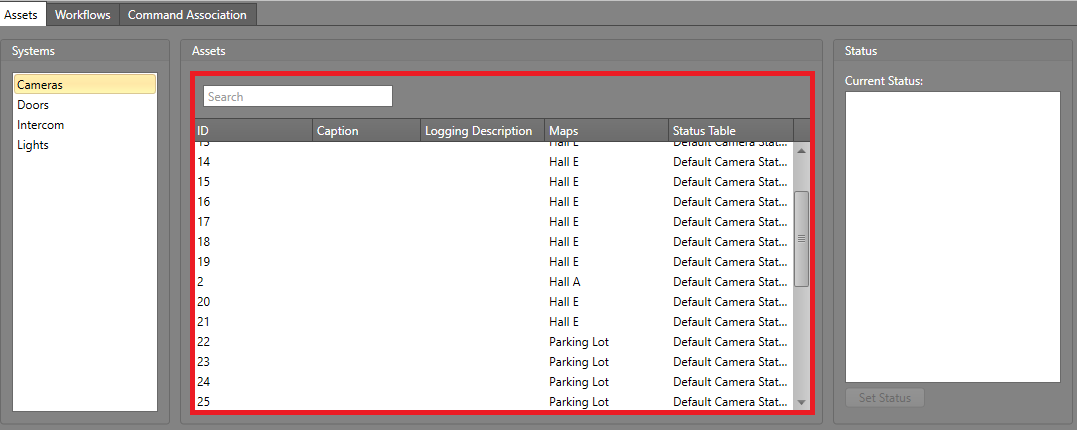
The assets from the system are listed in the Assets
pane.
Default Mode
 Advanced Mode
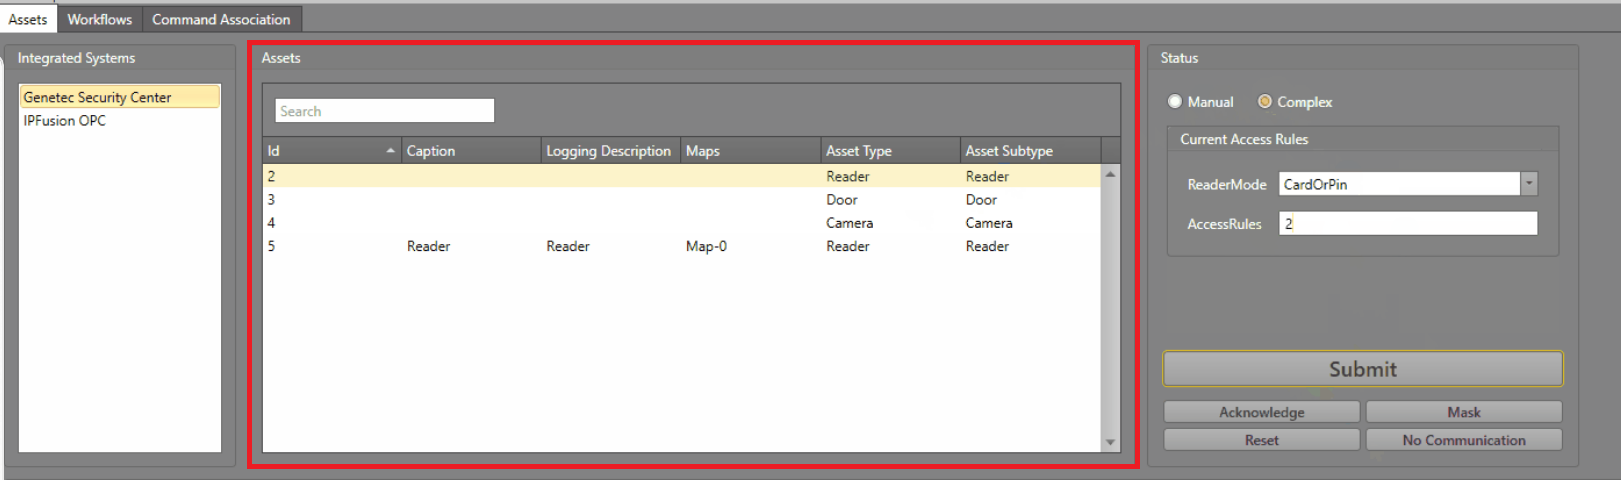
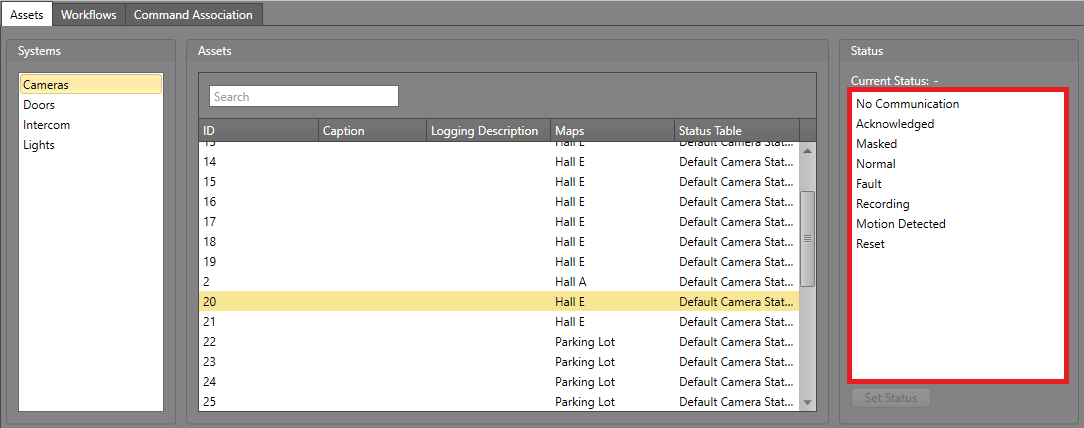
Change the Status (Default Mode)
-
The asset's available statuses are displayed in the
Status pane. Double-click a status or select it and
click Set Status.
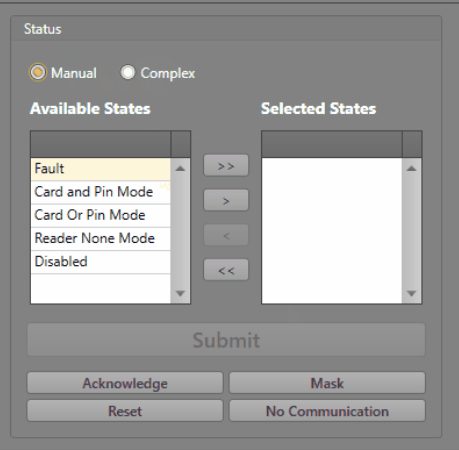
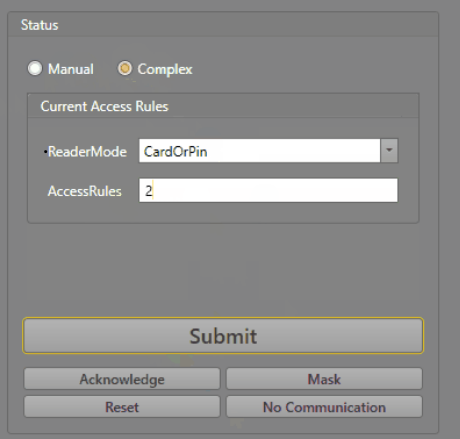
Change the Status (Advanced Mode)
-
Select Manual to transfer the desired state to
simulate and select from the available commands.
-
Select Complex to enter the desired state value to
simulate and click Submit.
 Warning: After clicking one of the status buttons (Acknowledge, Mask, Reset, or No Communication), the status will be immediately written to the asset.