Shape Set Fill
The Fill state determines whether the shape is visually filled and can be interactive or respond to a trigger. You can choose a color using the Fill Color picker or set it to transparent. Even with a transparent fill, the shape remains interactive if Enable Fill is checked. Shapes which can have this property modified include the Rectangle, Ellipse, Polyline, and Polygon.
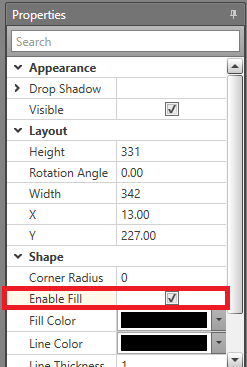
Setting Enable Fill in the Properties Grid
-
Check the box to Enable Fill.
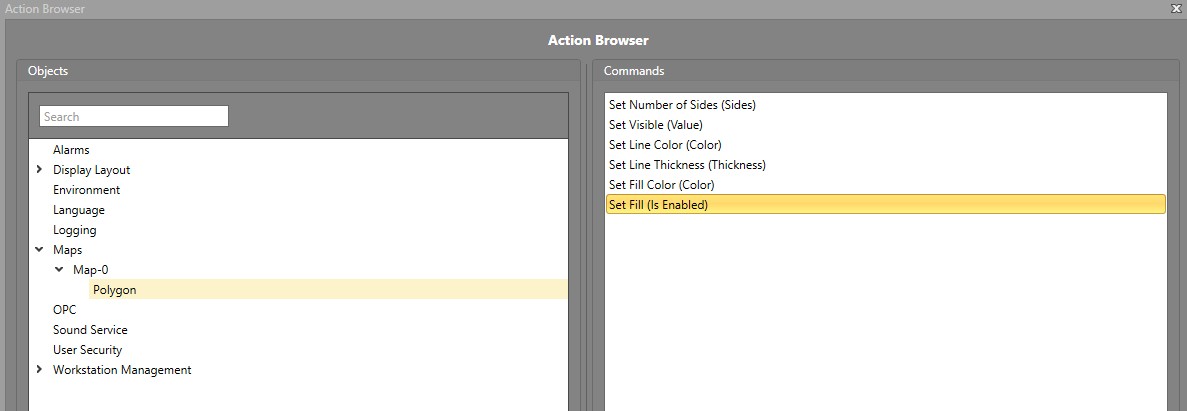
Change Fill State for a Single Shape Using Workflows
To change the Fill property of a shape, you will first require an Action block in your Workflow. Drag and drop one into the work area if required.
-
In the Commands pane, select Set
Fill.
-
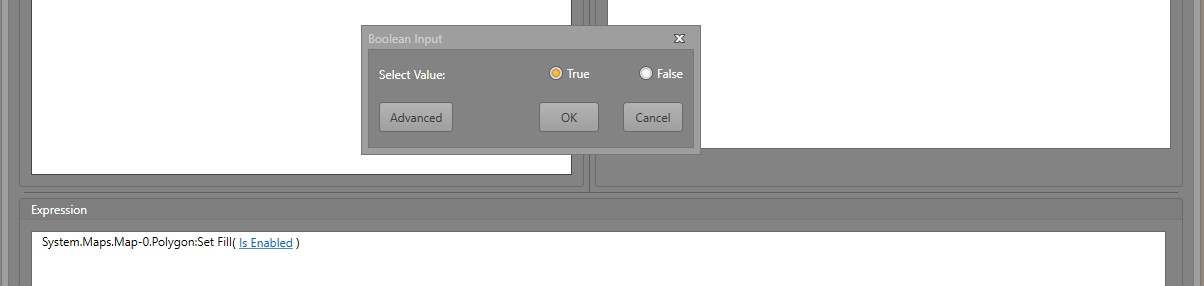
In the Expression pane, select Is
Enabled to True.
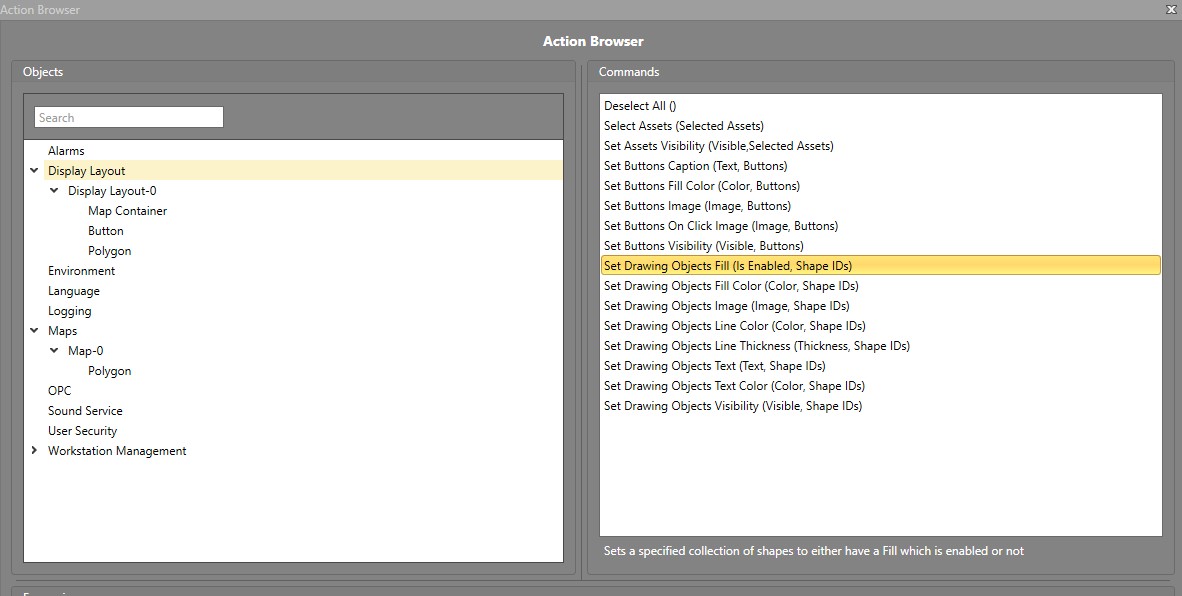
Change the Fill State for Multiple Shapes Using Workflows
To change the Fill property of a shape, you will first require an Action block in your Workflow. Drag and drop one into the work area if required.
-
In the Commands pane, select Set Drawing
Objects Fill.