
Add a New Map
A Map graphically represents real-world elements. To begin setting up and configuring your Maps, they must first be added in Designer.
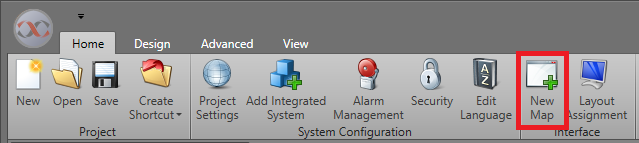
To add a new Map, follow the steps below.
-
Click New Map in the Home tab.
Designing a Map
Maps are typically designed in one of two ways: as a representation of physical devices and systems laid out over an image of the area's floor plans, or as a dashboard logically grouping assets together for monitoring. If the actual physical location of an assets is important for the Runtime operator to be aware of, then you may want to use the floor plan layout. If you are monitoring statuses but the physical location is less important, then a dashboard layout may work better.
When designing a Map, you will want to determine the below information:
- Whether the monitors in use will have a touch screen or not to determine asset icon touch area sizes
- It is recommended that for touch screens that the icon touch area is at least 9mm (0.35 inches) to allow it to be easily selectable
- The configuration of the assets to be displayed on the Map
- If you are using a floor plan layout, determine where the devices to be displayed are physically located
The Map can be configured with a background image. Assets can then be added to the Map and configured in the Properties grid.