
Add a Security Group
A Security Group is used to apply Designer and Runtime Privileges to Users. A User can be assigned to multiple Groups.
To create a Group, follow the steps below.
-
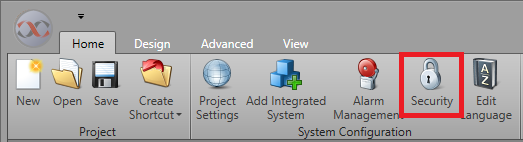
Go to the Home tab and click
Security. If Security is not
enabled, you will be prompted to enable it. Click Confirm
to reopen the project with Security enabled. The
Security Manager will open.
-
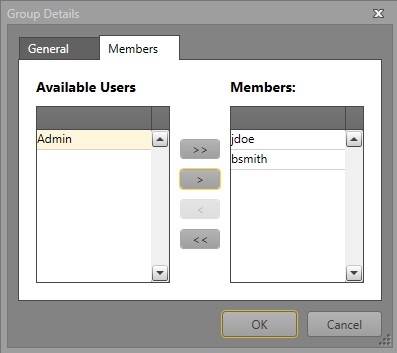
If you would like to add Users to the
Group at this time, click the
Members tab to and remove
Users.
 Note: If a User is assigned to multiple Groups and there are conflicting privileges, the Deny will be used.