Navigation Item

A Navigation Item is used to allow operators to navigate between Maps. Selecting a different Map in the Navigation Item will load that Map in a Map Container.

The Navigation Item allows multiple Maps to be accessible without needing to display a separate Map Container for each.

Note: If there are multiple active alarm on another Map, a bubble containing the number of unacknowledged alarms will be displayed. The appearance of this bubble can be customized. While the alarm is active, the navigation button flashes the color of the highest priority alarm which is active on that map.

To set up a Navigation Item, complete the below steps.

  1. Go to Project Explorer and expand Display Layouts. Click the layout you want to edit to open it.
  2. In the Toolbox, drag and drop the Navigation Item to the work area. Designer will show four buttons. Runtime will automatically create as many navigation buttons as there are Maps. Each button will be labelled with the title of the Map it corresponds with.
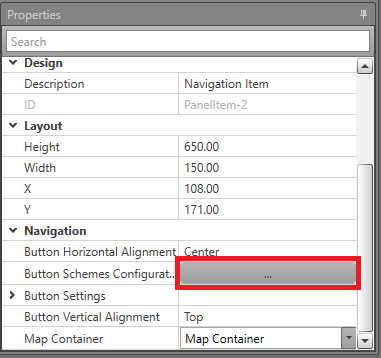
  3. In Properties, under Navigation, click the ellipsis (...) beside Button Schemes Configuration.
  4. Select the Maps to have their own navigation button.
    Important: When using Advanced mode, blank button schemes are not allowed. You must have an Origin Map selected. Destination Maps are optional.
  5. Click Save and Exit.
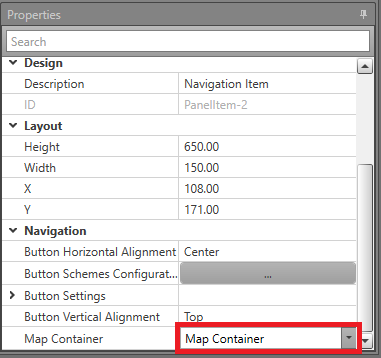
  6. To set a Map Container for this item, select it in the drop-down menu for the Map Container property.

Each Map will appear in the Navigation Item. When its button is clicked, the Map will display in the assigned Map Container. To have a more advanced configuration, use the Advanced Mode.