Shape Fill Color
The color used to fill a shape can be configured in Designer, then later changed during Runtime using Workflows. This can be used to convey information visually to a Runtime operator. Shapes which can have this property changed are the: Rectangle, Ellipse, Polyline, and Label.
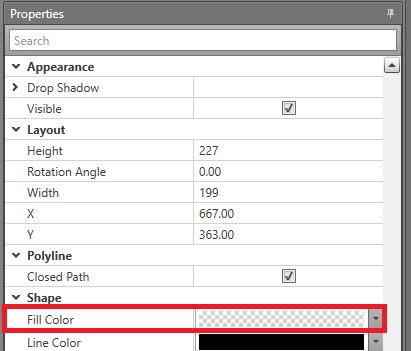
Setting Fill Color in the Properties Grid
-
In the Properties grid, open the color picker
for the Fill Color and select the color to be used.
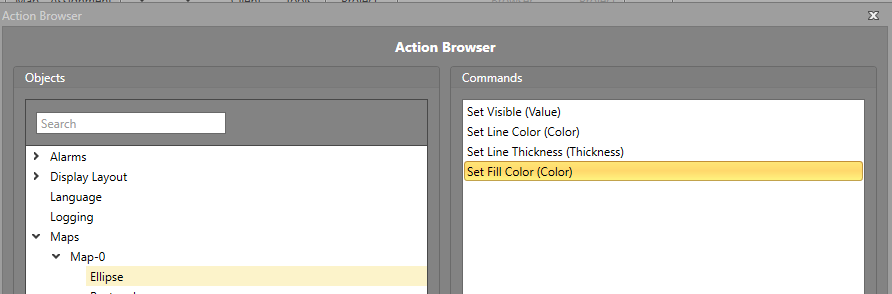
Change Fill Color for a Single Shape Using Workflows
To change the Fill Color property of a shape, you will first require an Action block in your Workflow. Drag and drop one into the work area if required.
-
In the Commands pane, select Set Fill
Color.
-
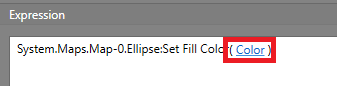
In the Expression pane, select
Color to open the color picker.
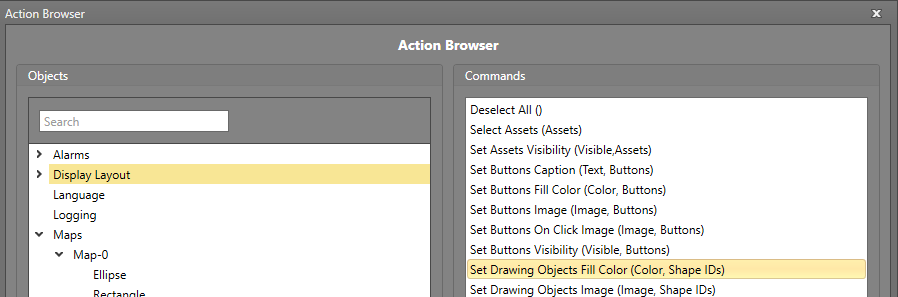
Change Fill Color for Multiple Shapes Using Workflows
To change the Fill Color property of a shape, you will first require an Action block in your Workflow. Drag and drop one into the work area if required.
-
In the Commands pane, select Set Drawing Objects Fill Color.