Drawing Object Image
The image used in an image drawing object can be configured in Designer, then later changed during Runtime using Workflows. This can be used to convey information visually to a Runtime operator.
Setting the Image on the Properties Grid
-
In the Properties, select the Image ellipses to
pen the Resource Picker.
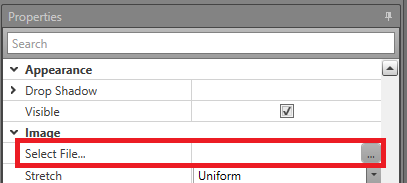
- Select the image from the list, or Import.
- Click OK.
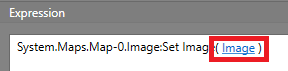
Change Image for a Single Object Using Workflows
To change the Image property of an image object, you will first require an Action block in your Workflow. Drag and drop one into the work area if required.
-
In the Commands pane, select Set Image.

-
In the Expression pane, select Image.
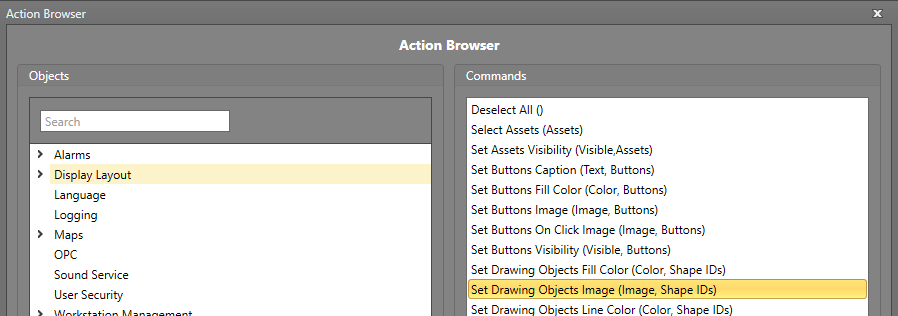
Change Image for Multiple Objects Using Workflows
To change the Image property of image objects, you will first require an Action block in your Workflow. Drag and drop one into the work area if required.
-
In the Commands pane, select Set Drawing Objects Image.