Email Block
The Email block sends an e-mail to a specified address. This is used to send e-mail notifications to a recipient. For example, you may want to notify maintenance staff when a camera is unable to connect to Runtime.
To use the Email block in your Workflow, follow the steps below.
- In the Project Explorer, expand Workflows and double-click the Workflow to edit. Or, you can right-click Interactive or Background Workflows and Add one.
- Drag and drop the Email block into the work area.
- Double-click the Email block to open the Email Editor.
-
Fill in the information below.
To Address The e-mail address this message is being sent to. From Address The e-mail address this message should appear to be from. Subject The subject line of the e-mail. Body The content of the message. Click Insert Variable to open the Logic Editor and add a variable to the message. SMTP Server The server IP address or host name from which the e-mail will be sent. Port The port number for the SMTP server connection. Note: For some mail providers this value may differ depending on whether or not SSL is enabled.Enable SSL Use an encrypted connection to the SMTP server. Note: You need a valid SSL certificate on the SMTP server when enabling this option.Username The username for the e-mail account the message is being sent from. Password The password corresponding with the e-mail account's username. - Click OK.
-
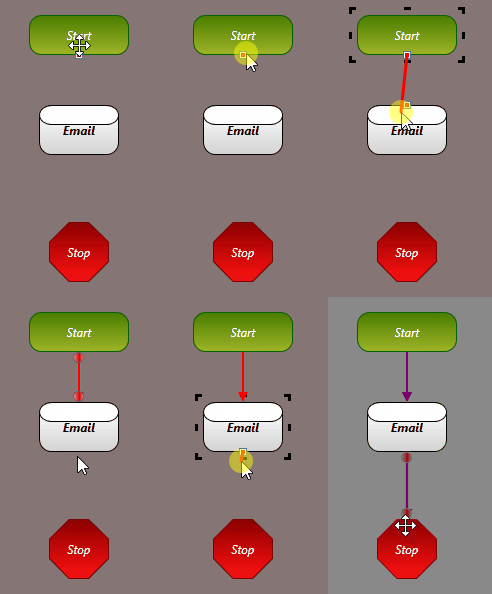
Connect the Email block to its previous and next blocks.

