Switch and Case Blocks
The Switch and Case blocks are used together to make a decision on what path to take in a Workflow. They execute a sequence of blocks if a logical expression matches one of the specified cases. If no case matches, a default path is used.
The Switch block contains a configured logical expression. The Case blocks are configured with potential results for what this expression could evaluate to. If the expression evaluates to that value, the Case's exit path will be used. The Switch block can connect to any number of Case blocks. If the result does not match any of the Cases, the Default exit path will be used instead.
To add a Switch and Case to your Workflow, follow the steps below. To view an example these blocks in use, view the example section.
-
Connect the Switch to it's previous block, default, and each
Case.
Example
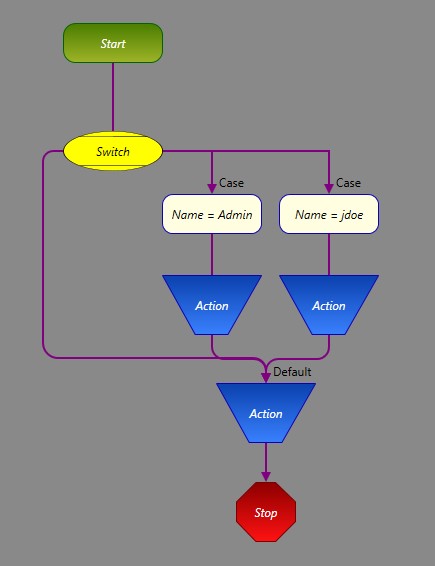
In this example, we will create a Workflow using the Switch and Case blocks to determine what action to take when a user is idle. Based on the logged in user, different actions will be taken.
-
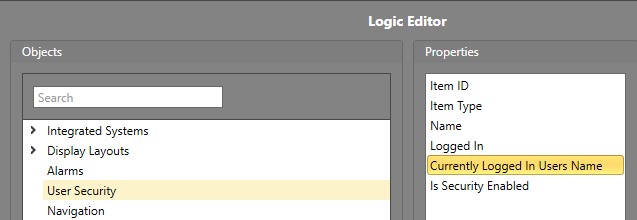
Double-click the Switch block. Select . Click OK.
-
Add two Case blocks to the Workflow.
Connect the Switch to them. Connect the Default
path and each Case to their next blocks.
-
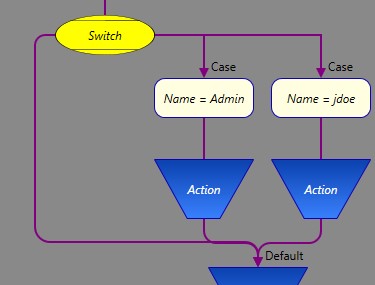
For each Case, we will double-click it and add a String.
A text box will appear in the Expression. For the first one, we will type Admin.
For the second, jdoe.
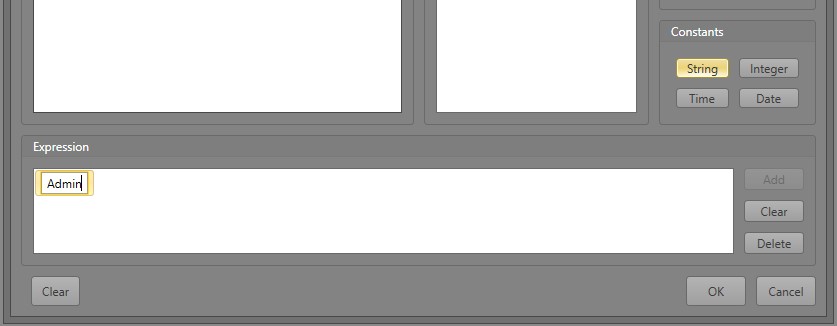 This will make it so if the currently logged in user's username matches the Case String, it will continue down that block's exit path.
At the end, our Workflow looks like this: