
C·CURE 9000 Event Notification Example
The Event Notification Workflow trigger in the C·CURE 9000 system fires when an event specified in the C·CURE system has become active. In this example, we will be creating a Workflow which triggers on a button press (resulting in an input becoming active) by a door. This will then provide the Runtime operator the option to unlock the door or deny entry.
-
Double-click the Start block and select the
trigger.
-
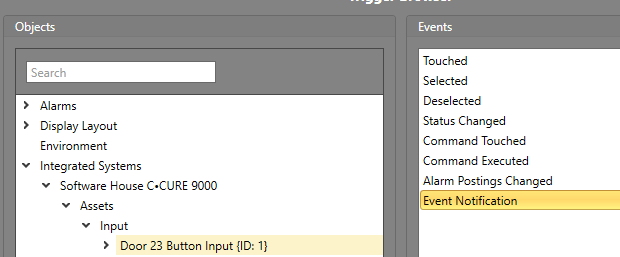
In the Events pane, select Event
Notification.
-
In the Events pane, select Event
Notification.
-
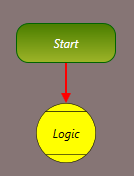
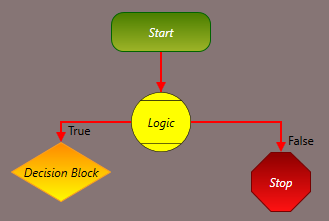
Add a Logic block to the Workflow and connect the
Start block's exit path to the top of it.
Double-click the Logic block to configure it.
-
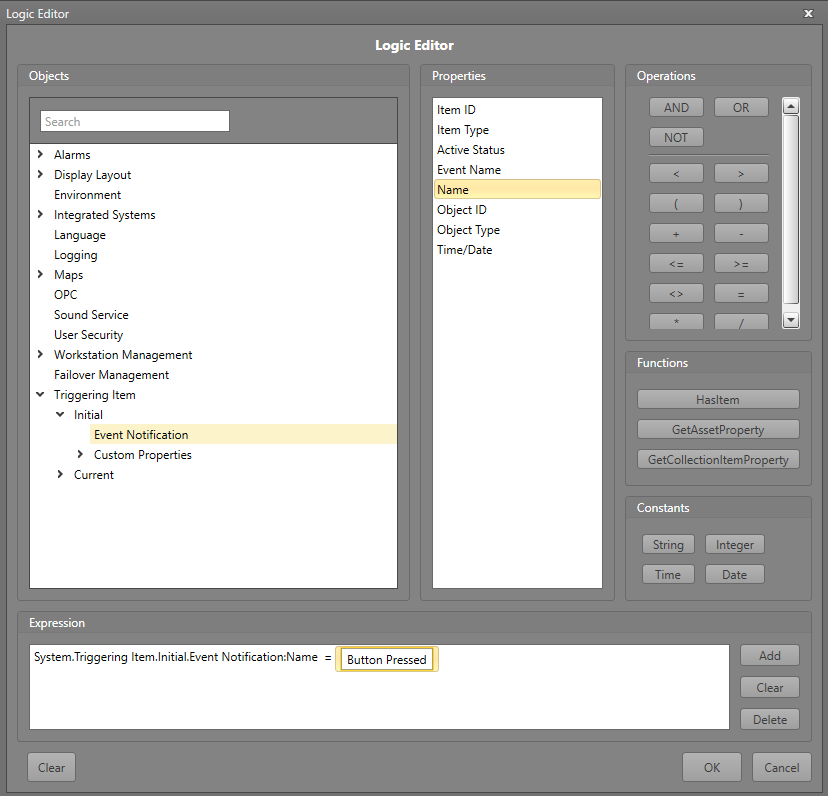
In the string field, enter the name of the event which will trigger
when the button is pushed. In this example, we are using
Button Pressed.
-
In the string field, enter the name of the event which will trigger
when the button is pushed. In this example, we are using
Button Pressed.
-
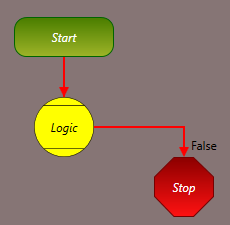
Connect the Logic block's False exit path
to the Stop block.
-
Add a Decision block, and connect it to the
Logic block's True exit path.
Configure the block:
-
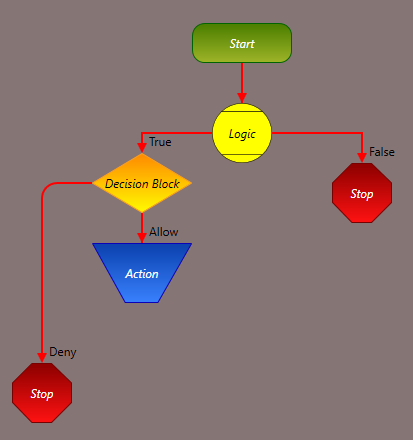
Drag another exit path to connect to the Stop
block. Label this path as "Deny".
Note: You can connect the exit paths to the same Stop block, or add multiple to your Workflow.
-
Drag another exit path to connect to the Stop
block. Label this path as "Deny".
-
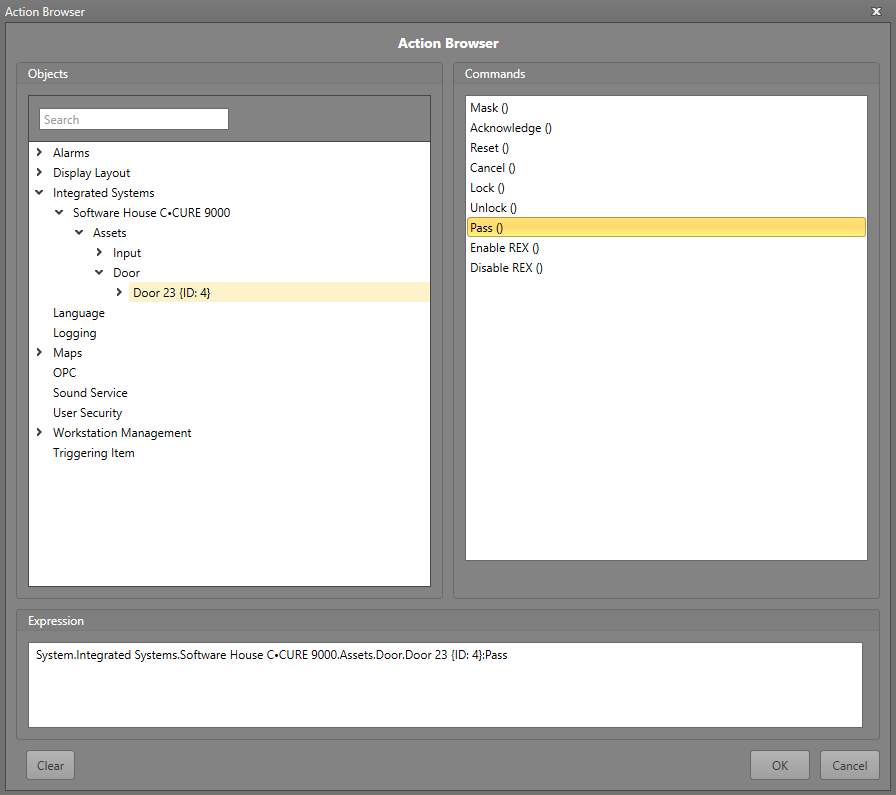
Double-click the Action block to configure it.
-
In the Commands pane, select the
Pass command.
Note: The Pass command must be in that asset's command table for it to appear here.
-
Connect the exit path for the Action block to
the Stop block.

-
In the Commands pane, select the
Pass command.
When this Workflow executes in Runtime, it will fire upon having the "Button Pressed" event occurring in C·CURE on the specified input. The Runtime operator will be notified and presented with the option to allow or deny access through the door. Allowing access will temporarily unlock the door. Denying access will not result in any further action taken.